
IBM Websphere Portal in linux containers [part2]
Continuing the installation with database transfer from derby to db2 and configuring websphere cluster.
In the previous post we created a SLES container with Installation Manager to use it as template and a full installation of Websphere Portal Server with Cumulative Fix 08 to use it as primary node:
~ # lxc-ls --fancy
NAME STATE IPV4 IPV6 GROUPS AUTOSTART
--------------------------------------------
sles STOPPED - - - NO
wsp1 STOPPED - - - NO
We start now with database installation.
Firstly we are cloning the template:
~ # lxc-clone sles dbserver
Created container dbserver as copy of sles
Edit the file /var/lib/lxc/dbserver/config with your network preferences and rw filesystem mounts necessary for db2:
# Common configuration
lxc.include = /usr/share/lxc/config/opensuse.common.conf
# Container specific configuration
lxc.arch = amd64
# Network configuration
lxc.network.type = veth
lxc.network.link = lxcbr0
lxc.network.flags = up
lxc.network.ipv4 = 10.0.3.100/24
lxc.network.ipv4.gateway = 10.0.3.1
lxc.network.hwaddr = 00:16:3e:59:00:b0
lxc.rootfs = /var/lib/lxc/dbserver/rootfs
lxc.utsname = dbserver
lxc.mount.auto = proc:rw sys:rw
Then you can boot it and login with ssh -X:
~ # lxc-start -n dbserver
~ # lxc-ls --fancy
NAME STATE IPV4 IPV6 GROUPS AUTOSTART
------------------------------------------------------
dbserver RUNNING 10.0.3.100 - - NO
sles STOPPED - - - NO
wsp1 STOPPED - - - NO
~# ssh -X 10.0.3.100
dbserver:~ #
Extract db2 package inside the container and run the installation:
~ # tar -xvf DB2_10.5.0.3_limited_Lnx_x86-64.tar.gz -C /var/lib/lxc/dbserver/rootfs/IBM_packages/
dbserver:~ # /IBM_packages/server_r/db2setup
db2 installation is creating the user db2inst1 needed for configuration wizard and portal server to connect. When the installation is finished, boot wsp1:
~ # lxc-start -n wsp1
~ # lxc-ls --fancy
NAME STATE IPV4 IPV6 GROUPS AUTOSTART
------------------------------------------------------
dbserver RUNNING 10.0.3.100 - - NO
sles STOPPED - - - NO
wsp1 RUNNING 10.0.3.11 - - NO
Transfering database
IBM Websphere Portal comes with configuration web app running in a different websphere profile. We are connecting to "wsp1" to run the application server's profile where the configuration wizard is running:
wsp1:~ # /opt/IBM/WebSphere/AppServer/profiles/cw_profile/bin/startServer.sh server1
Use your browser to open this url: http://10.0.3.11:10200/ibm/wizard/login.jsp
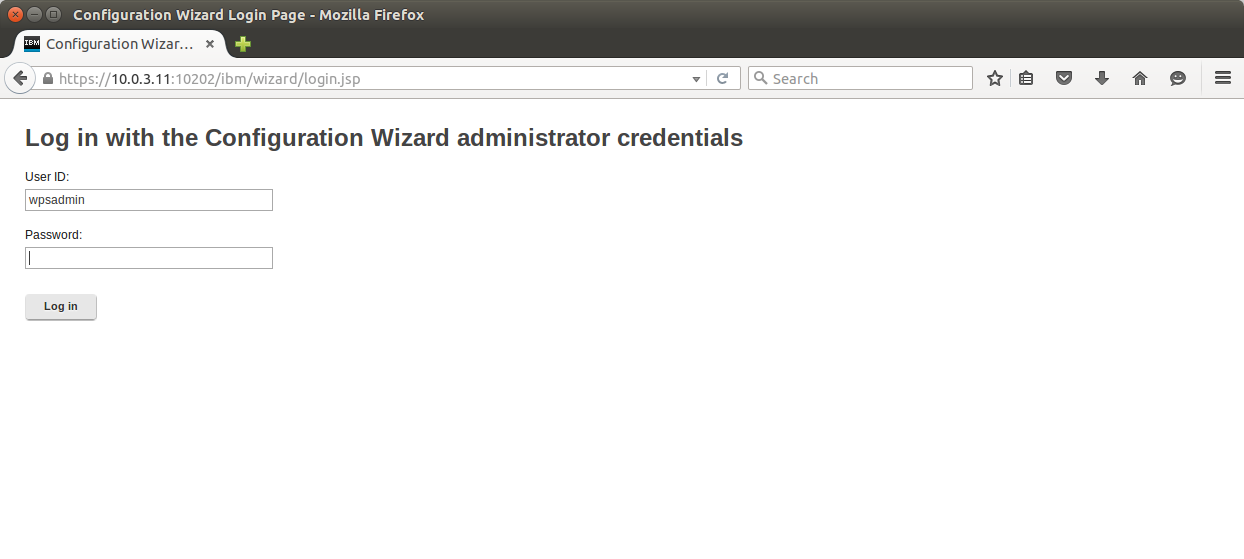
Login with credentials you give at the portal's installation:
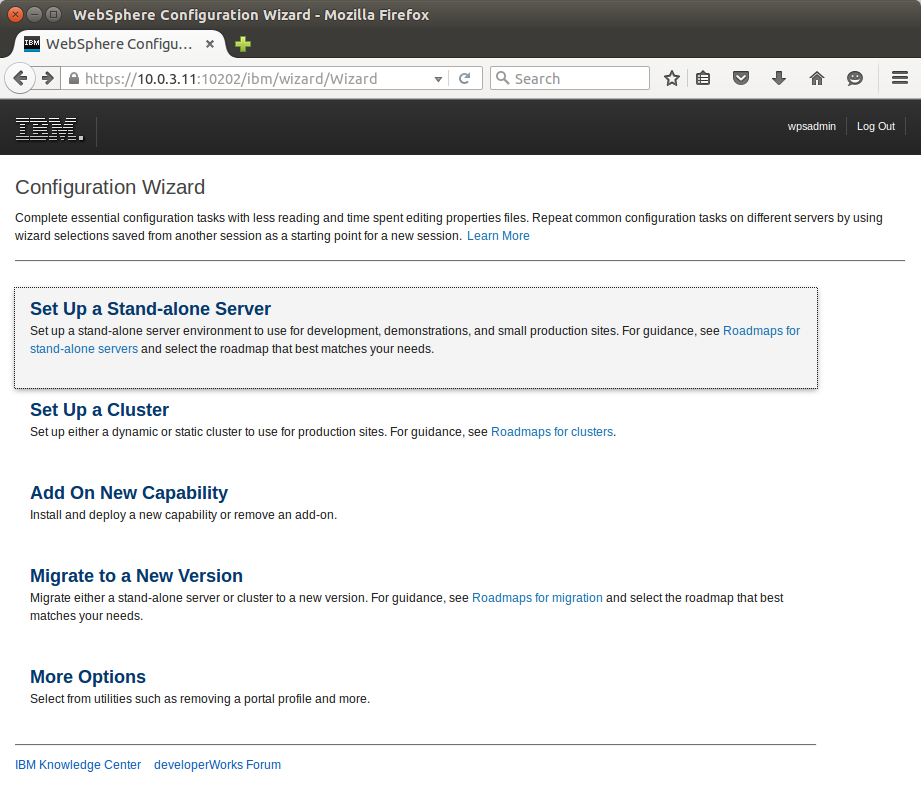
Select "Set Up a Cluster":
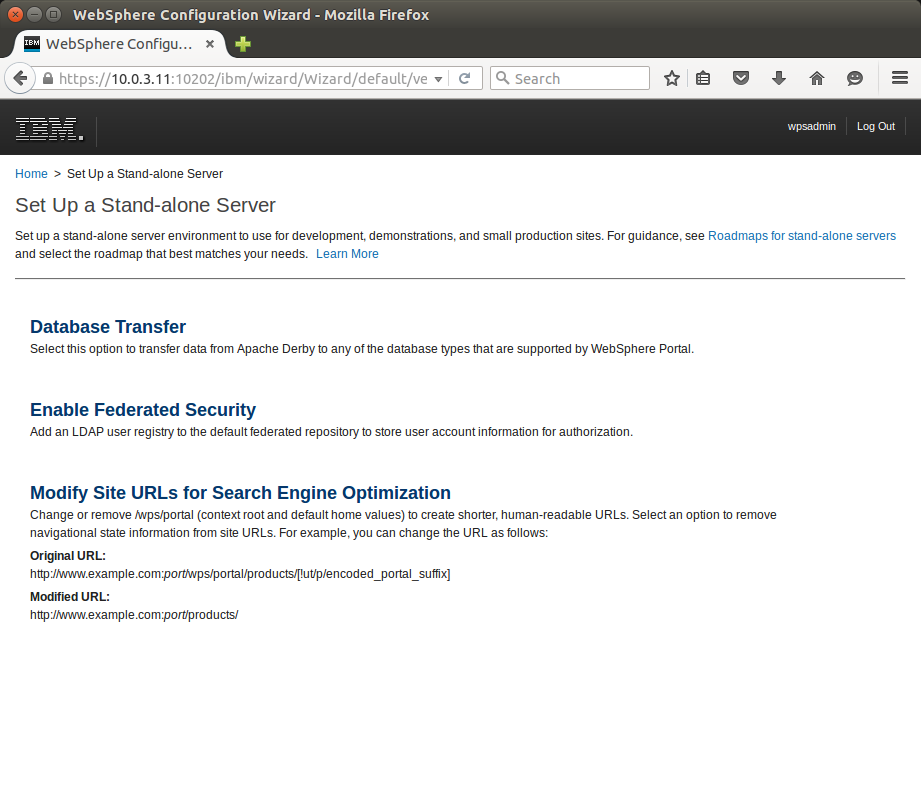
Select "Database Transfer":
For our configuration we are using db2 instance (obviously) with multiple databases.
At some point you need to copy from database server to the portal server the jdbc drivers:
- /opt/ibm/db2/V10.5/java/db2jcc4.jar
- /opt/ibm/db2/V10.5/java/db2jcc_license_cu.jar
You need to give the path of jar files to comfiguration wizard.
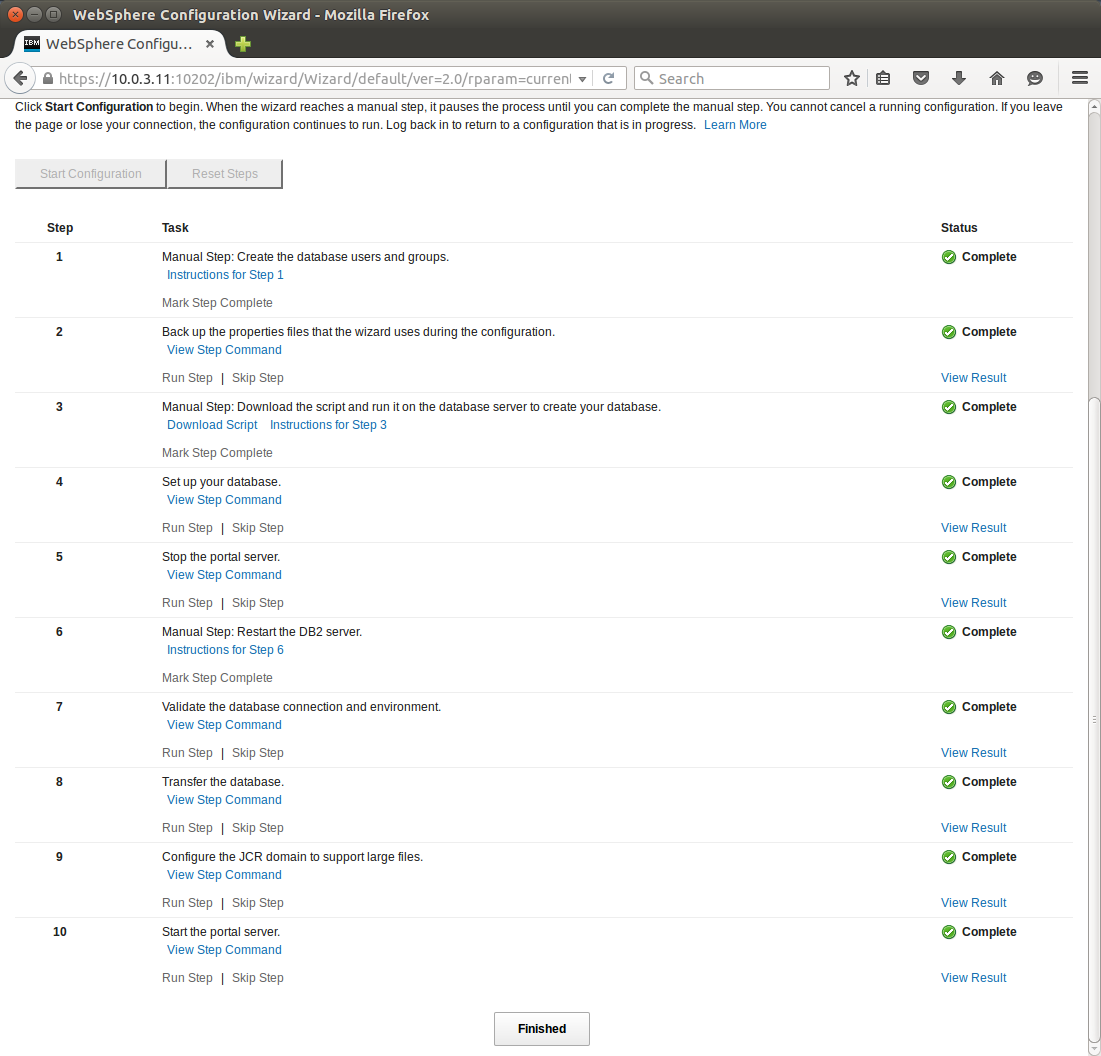
At last we are runnning all the manual and automated steps in configuration wizard to transfer the databases to the new database server:
During transfer or after Portal start you can comfirm that the new database server is working well with the command:
db2inst1@dbserver:~> db2 list applications
Auth Id Application Appl. Application Id DB # of
Name Handle Name Agents
-------- -------------- ---------- -------------------------------------------------------------- -------- -----
DB2INST1 db2jcc_applica 1289 10.0.3.11.34100.151105141108 WPREL 1
DB2INST1 db2jcc_applica 1273 10.0.3.11.34098.151105141052 WPREL 1
DB2INST1 db2jcc_applica 1340 10.0.3.11.34108.151105141159 WPJCR 1
DB2INST1 db2jcc_applica 1339 10.0.3.11.34106.151105141158 WPJCR 1
DB2INST1 db2jcc_applica 1358 10.0.3.11.34169.151105141217 WPJCR 1
DB2INST1 db2jcc_applica 1338 10.0.3.11.34105.151105141157 WPJCR 1
DB2INST1 db2jcc_applica 1290 10.0.3.11.34101.151105141109 WPJCR 1
DB2INST1 db2jcc_applica 1341 10.0.3.11.34111.151105141200 WPCOMM 1
DB2INST1 db2jcc_applica 1306 10.0.3.11.34102.151105141125 WPCOMM 1
DB2INST1 db2jcc_applica 1322 10.0.3.11.34103.151105141141 WPCUST 1
DB2INST1 db2jcc_applica 1342 10.0.3.11.34144.151105141201 WPLM 1
As you see we have some connections from wsp1 node to the database server.
The transfer database procedure is complete.
Create deployment manager
Connect to configuration wizard: https://10.0.3.11:10202/ibm/wizard/login.jsp
Select "Set Up a Cluster"
Select "Create a Deployment Manager"
We choose to install deployment manager in the same server as the primary node.
Run all the steps at the end.
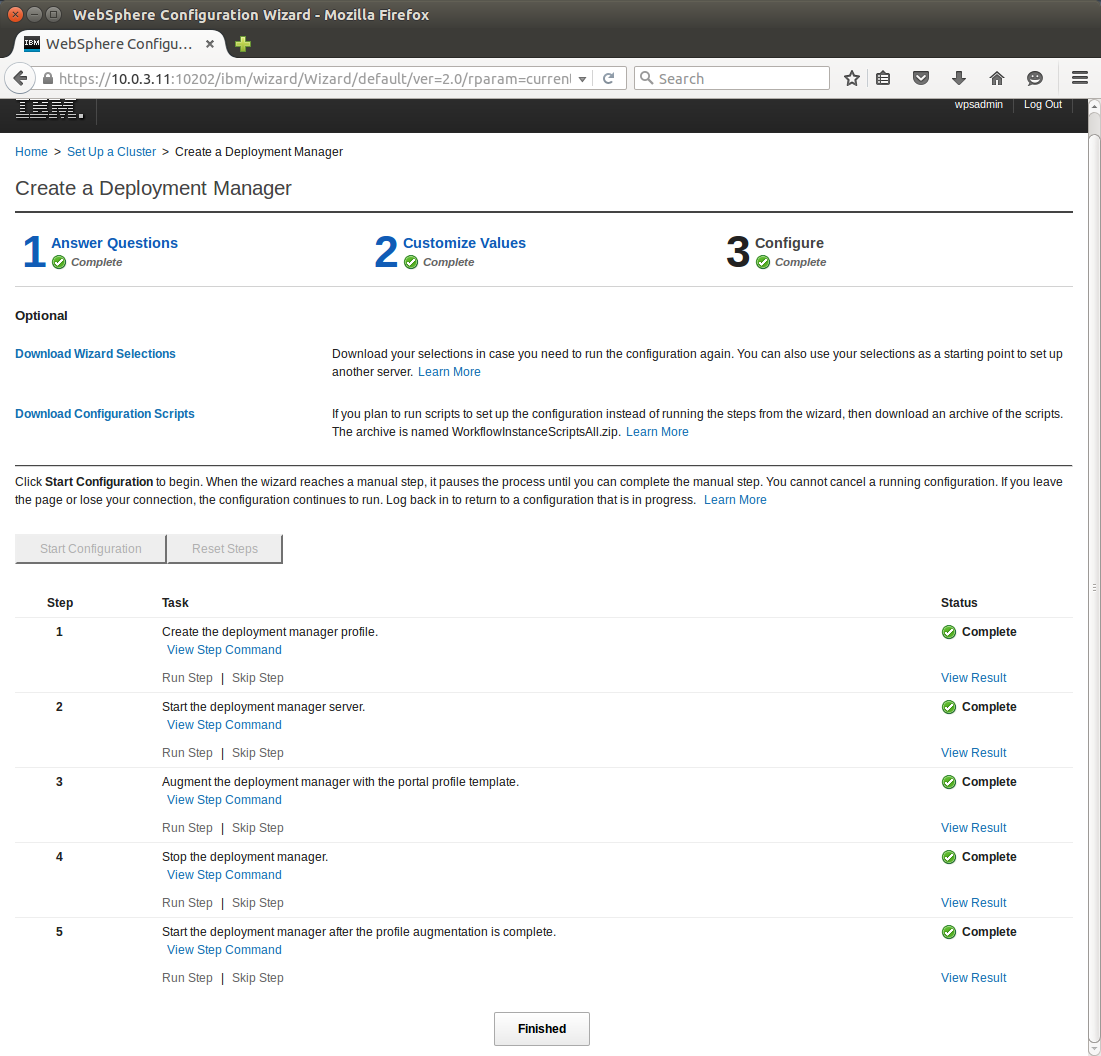
Our primary node is now managed by deployment manager.
Create a cluster
Connect to configuration wizard: https://10.0.3.11:10202/ibm/wizard/login.jsp
Select "Set Up a Cluster"
Select "Create a Cluster"
We use the deployment manager in the same host as our primary node to federate the node
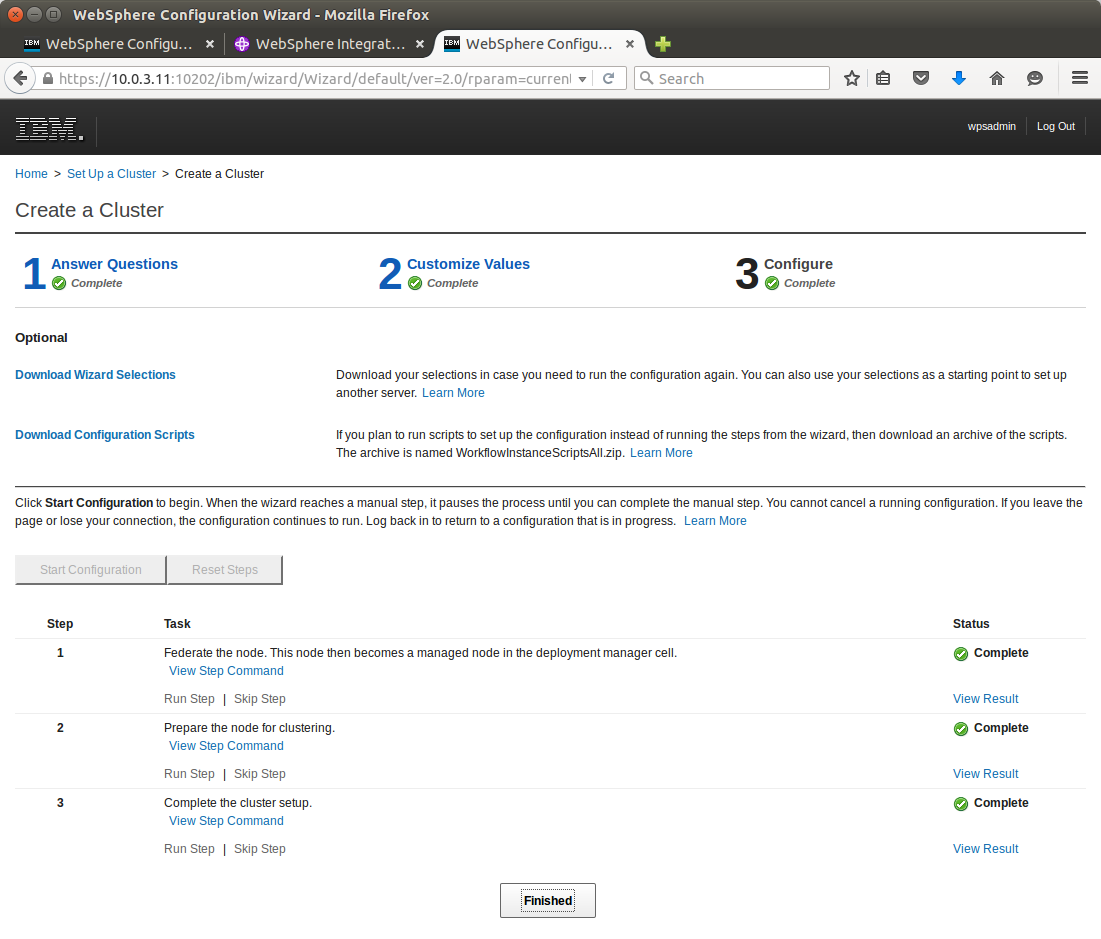
Add another node to the cluster
Connect to configuration wizard: https://10.0.3.11:10202/ibm/wizard/login.jsp
Select "Set Up a Cluster"
Select "Create an Additional Cluster Node"
We want to create an additional cluster node in a different machine from our primary node.
In order to avoid installation from the begining with all the updates and fixes we can clone the primary node "wsp1" to create our secondary wsp2:
~ # lxc-clone wsp1 wsp2
Created container wsp2 as copy of wsp1
Before booting "wsp2" configure the container editing the file /var/lib/lxc/wsp2/config
In our example:
~ # cat /var/lib/lxc/wsp2/config
# Common configuration
lxc.include = /usr/share/lxc/config/opensuse.common.conf
# Container specific configuration
#lxc.arch = amd64
# Network configuration
#lxc.network.type = veth
#lxc.network.link = lxcbr0
#lxc.network.flags = up
#lxc.network.hwaddr = 00:16:3e:9a:45:72
#lxc.rootfs = /var/lib/lxc/wsp1/rootfs
#lxc.utsname = wsp1
lxc.arch = amd64
lxc.network.type = veth
lxc.network.veth.pair = vethwsp2
lxc.network.link = lxcbr0
lxc.network.ipv4 = 10.0.3.12/24
lxc.network.ipv4.gateway = 10.0.3.1
#lxc.network.script.up = /var/lib/lxc/wsp1/script-up.sh
lxc.network.flags = up
lxc.network.hwaddr = 00:16:3e:92:da:40
lxc.rootfs = /var/lib/lxc/wsp2/rootfs
lxc.utsname = wsp2
Then you can boot wsp2 and delete all the was profiles listed with:
wsp2:~ # /opt/IBM/WebSphere/AppServer/bin/manageprofiles.sh -listProfiles
[cw_profile, wp_profile, dmgr01]
So we run:
wsp2:~ # /opt/IBM/WebSphere/AppServer/bin/manageprofiles.sh -delete -profileName cw_profile
wsp2:~ # /opt/IBM/WebSphere/AppServer/bin/manageprofiles.sh -delete -profileName wp_profile
wsp2:~ # /opt/IBM/WebSphere/AppServer/bin/manageprofiles.sh -delete -profileName dmgr01
After that we can follow the steps from configuration wizard:
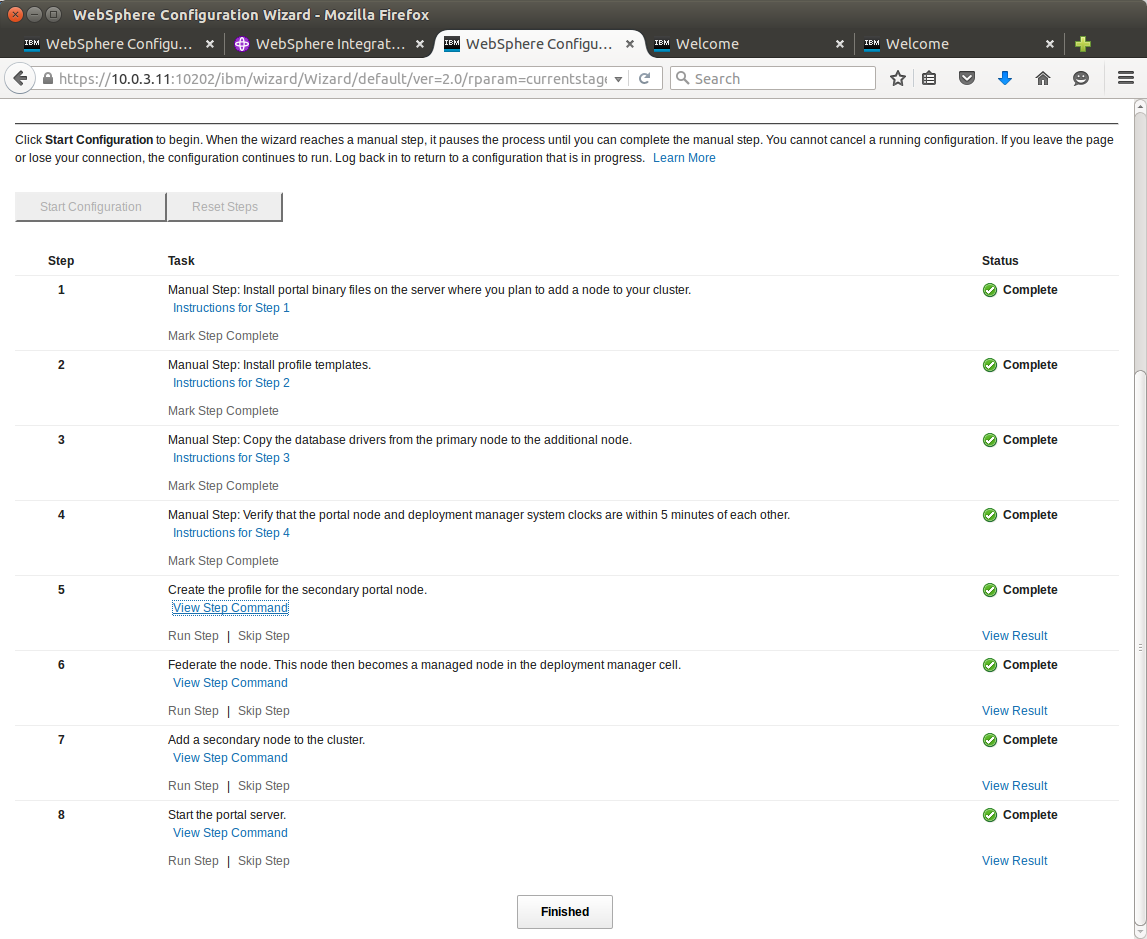
This is a screen from Deployment manager at https://10.0.3.11:9043/ibm/console/ after succesfull node addition to the cluster. Follow:
Servers > Server Types > WebSphere application servers
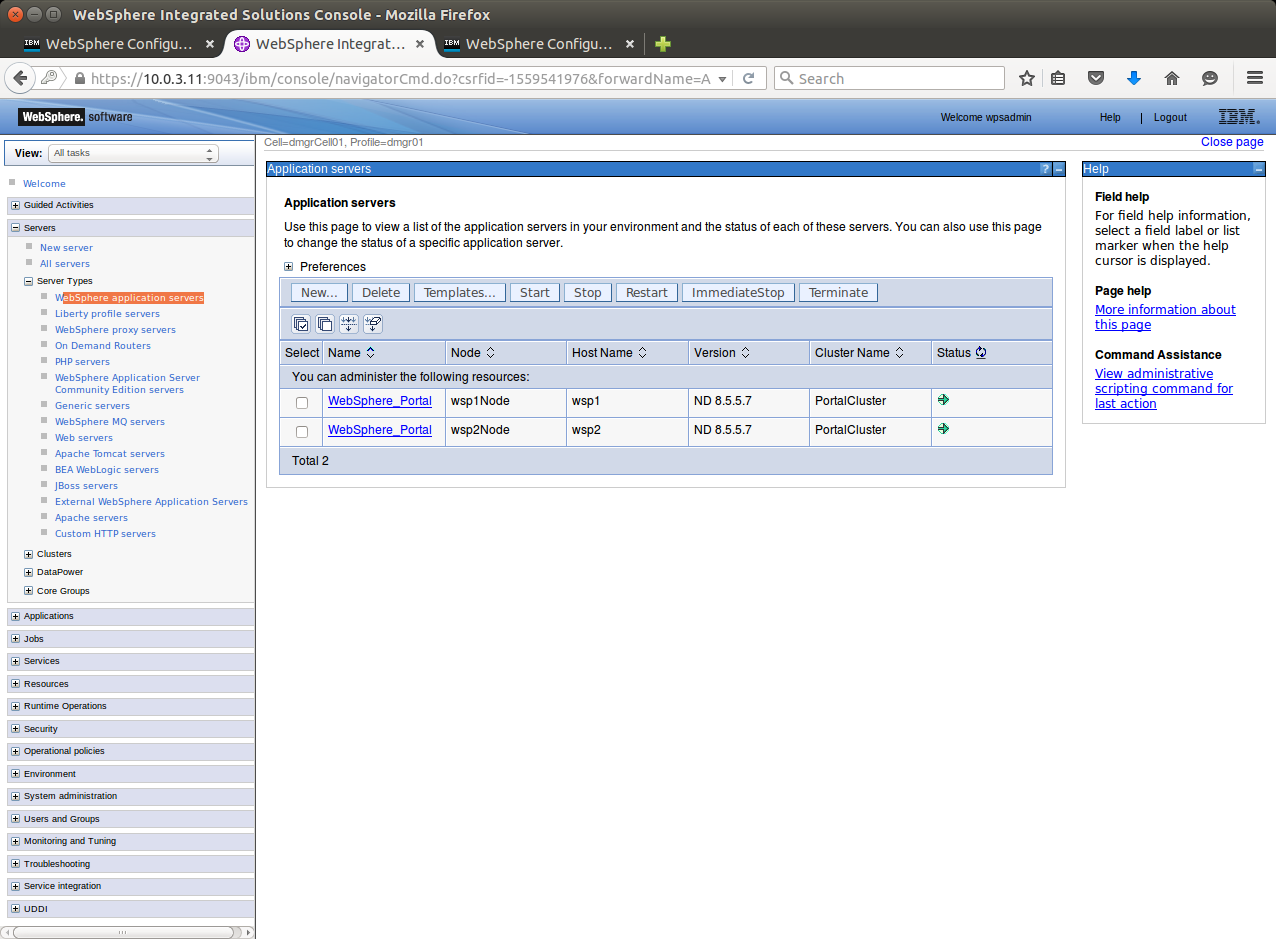
Check also:
http://10.0.3.11:10039/wps/myportal
and
http://10.0.3.12:10039/wps/myportal
...to get portal's homepage served by each one of our cluster nodes.
In the following post we 'll setup the two IBM HTTP servers in front of the websphere cluster and a load balancer in front of them.
- Posted by Kostas Koutsogiannopoulos · Nov. 7, 2015

